Author: admin

  • Trail Nutrition: What to Actually Pack

    Trail Nutrition: What to Actually Pack

    Trail nutrition is one of those topics that gets complicated fast, but the fundamentals haven’t changed: you need enough calories to fuel your output, in a form that’s light to carry, easy to prepare, and won’t make you miserable to eat by day three. Here’s a practical framework for planning what to actually bring.

    How Many Calories Do You Actually Need?

    A day hiker covering 10–12 miles with a 20-lb pack in moderate terrain burns roughly 3,000–3,500 calories. A backpacker doing the same mileage at higher elevation or in colder temperatures can push past 4,000 calories on active days. Most people underestimate this significantly and end up under-fueled. A simple rule of thumb: plan for 1.5–2 lbs of food per person per day, targeting an average of 100 calories per ounce. That gives you 2,400–4,800 calories depending on the food you choose.

    Macronutrient Balance on Trail

    Carbohydrates are your primary fuel for sustained aerobic output — oats, tortillas, instant rice, and dried fruit are efficient, palatable, and widely available. Fat is the most calorie-dense macronutrient (9 cal/g vs 4 cal/g for carbs and protein) and earns its place in any backcountry kit. Nuts, nut butters, olive oil, hard cheese, and salami carry well and add significant calorie density to meals. Protein slows digestion and supports muscle recovery — jerky, protein bars, and powdered milk or protein powder are good lightweight options. Aim for a rough split of 50% carbs, 30% fat, 20% protein.

    The Best Backpacking Foods by Category

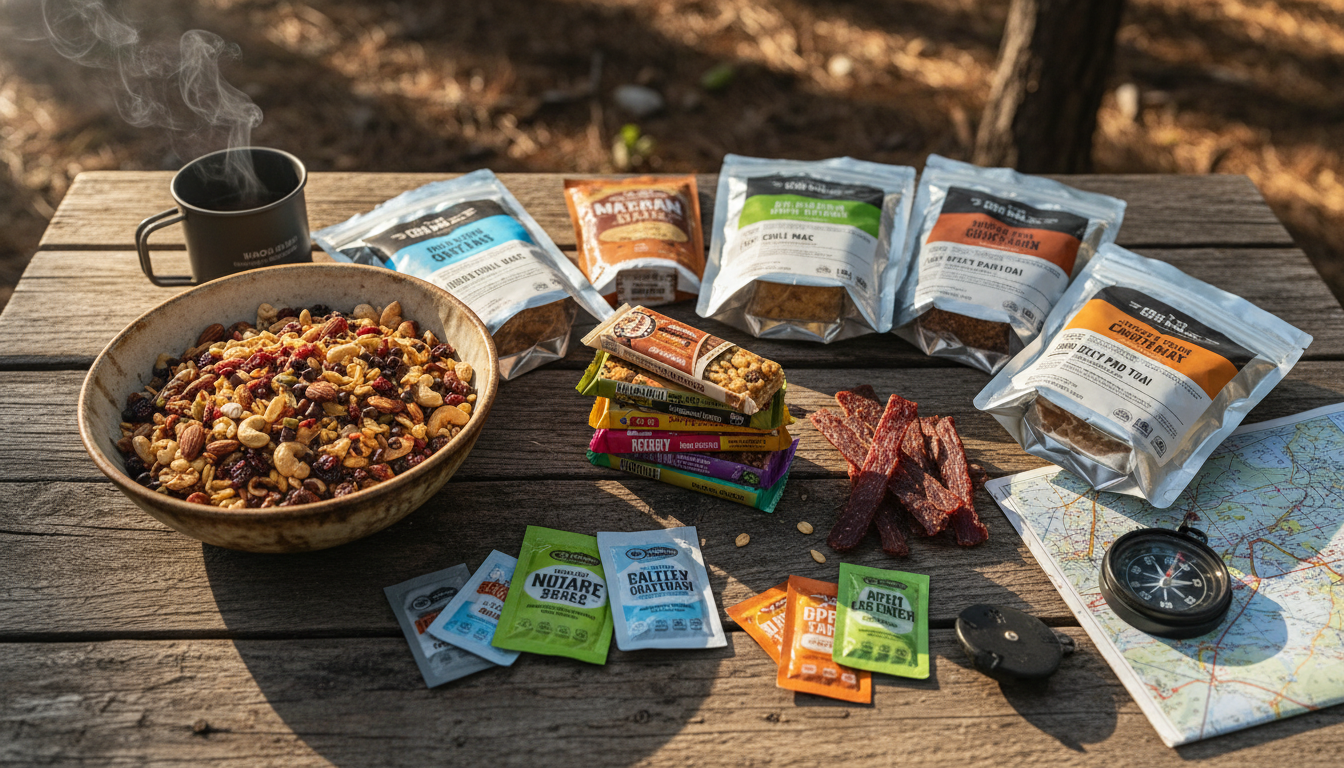
    Breakfast: Instant oatmeal with nuts and dried fruit is the reliable standard. Tortillas with peanut butter travel well and require no cooking. Granola with powdered milk reconstitutes in cold water if you want to skip the stove. The Titanium Camp Stove makes a hot breakfast possible even on long days — boils a liter of water in under three minutes.

    Lunch and snacks: Avoid cooked meals mid-day if you’re moving — they slow you down. Hard cheese and crackers, summer sausage, tortillas with hummus packets, mixed nuts, and energy bars are the most practical options. Aim for 600–800 calories without stopping to cook.

    Dinner: This is where you invest in quality. Freeze-dried meals have improved dramatically and now range from tolerable to genuinely good. Alternatively, cook real meals: instant ramen with added miso paste, olive oil, and a foil packet of salmon; instant mashed potatoes with cheese and bacon bits; couscous with sun-dried tomatoes and salami. Real food tastes better at 8,000 feet after a long day.

    Hydration and Electrolytes

    Dehydration is the most common performance issue on trail, and it compounds fatigue, muscle cramps, and poor decision-making. Drink before you’re thirsty — by the time thirst kicks in, you’re already mildly dehydrated. On hot days or long climbs, supplement with electrolyte packets or tablets to replace sodium, potassium, and magnesium lost through sweat. Plain water doesn’t replace electrolytes. Use the AquaPure Gravity Filter to keep your water supply reliable and frequent without added effort.

    What to Actually Pack (Sample 3-Day List)

    Day 1–3 breakfast: 3× instant oatmeal packets with nuts (add almond butter packet) — ~350 cal each. Snacks: 3× 2 oz nut mix, 3× energy bars, 1 hard salami link + crackers — ~800 cal/day. Dinners: freeze-dried backpacking meal (700 cal), couscous + olive oil + cheese (800 cal), ramen + salmon + miso (750 cal). That totals roughly 3,450 calories per day in around 1.8 lbs/day of food weight — right in the target range.

    Eat before you’re hungry. Snack constantly. Cook something you actually want to eat for dinner. Those three habits make a longer trip feel manageable rather than miserable.
  • Cold-Weather Layering, Explained

    Cold-Weather Layering, Explained

    The layering system works. After decades of research, industry trial and error, and a lot of cold people figuring things out the hard way, the three-layer system remains the most effective framework for managing body temperature in cold and variable conditions. Here’s what each layer actually does — and how to build a kit that performs.

    Layer 1: Base Layer (Moisture Management)

    The base layer sits against your skin. Its only job is to move sweat away from your body before it can cool you down. Merino wool is the gold standard — it wicks well, regulates temperature across a range of exertion levels, and doesn’t develop odor as quickly as synthetics. Synthetic base layers (polyester, polypropylene) dry faster and cost less. Cotton does neither and should be left at home for any serious cold-weather use. Weight choices: lightweight for high-output activities, midweight for low-output or camp use, heavyweight for extreme cold in low-activity settings.

    Layer 2: Mid Layer (Insulation)

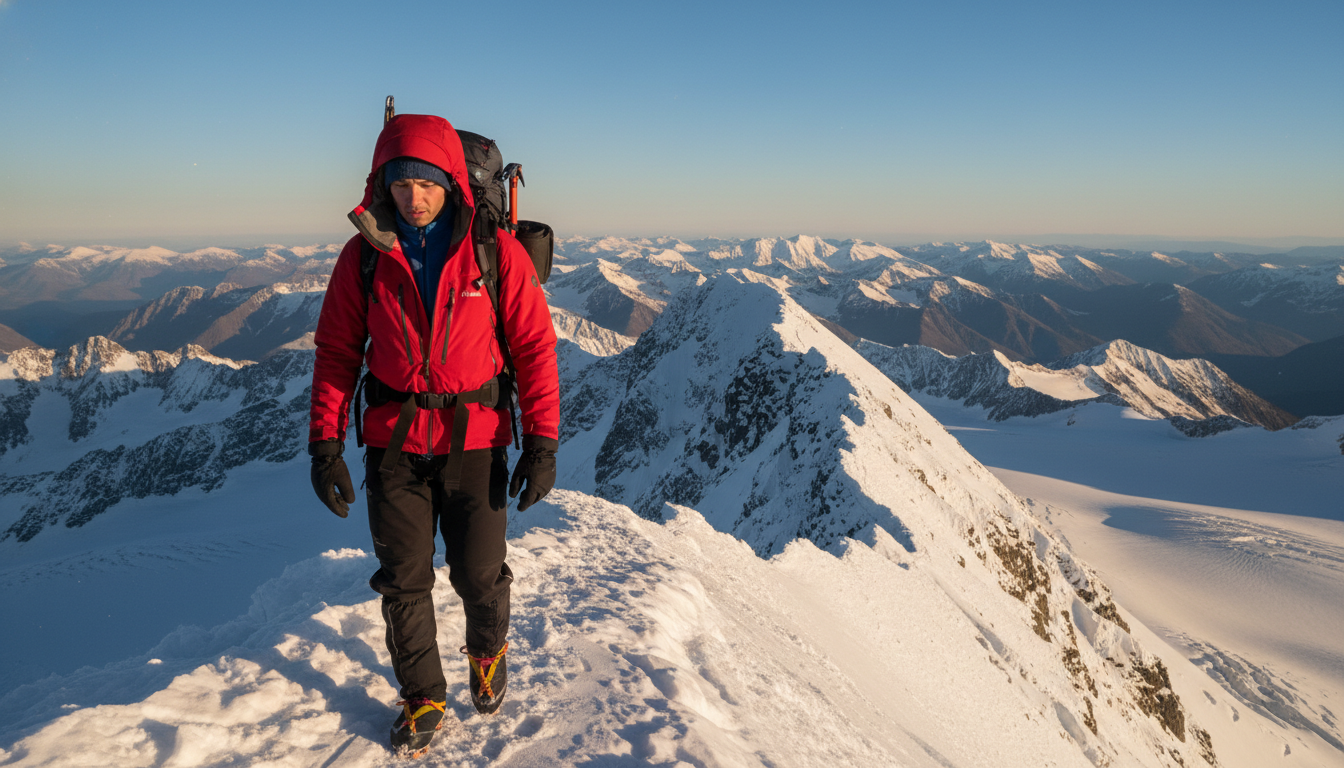
    The mid layer provides the actual insulation — it traps body heat in air pockets close to the body. Fleece is the most versatile mid-layer material: breathable, durable, quick-drying, and it maintains most of its warmth when damp. A 100-weight fleece handles shoulder-season hiking; a 200-weight or heavy fleece pullover works for camp use and rest stops in serious cold. Down insulation belongs in a mid layer only if you’re confident it will stay dry — once wet, down loses its loft and thermal value almost entirely. Synthetic fill (PrimaLoft, Thinsulate) performs better than down in wet or humid conditions. Pair a mid layer with the StormShell Rain Jacket over the top and you have a system that works from 35°F down to near-freezing with high output.

    Layer 3: Outer Shell (Weather Protection)

    The shell layer blocks wind and precipitation. A hardshell like the StormShell blocks rain and wet snow completely with taped seams and a 2.5-layer construction. A softshell provides more breathability and stretch but offers limited waterproofing — better for dry cold and high-output activity where sweat vapor management matters more than rain protection. The shell doesn’t provide significant insulation on its own; it simply preserves the warmth your base and mid layers are generating by blocking heat-stripping wind and moisture.

    Regulating the System

    The layering system only works if you actually adjust it. The most common mistake is keeping all three layers on during high-output activity until you’re soaked in sweat, then stopping and getting cold. Vent early and often — open zippers, remove a layer before you’re warm, put it back before you’re cold. On a technical climb or a steep trail, you might cycle layers every 20 minutes. The goal is to arrive at camp dry, not to get there faster while soaked.

    Don’t Forget Extremities

    Hands, feet, and head lose heat disproportionately. A light buff and thin liner gloves weigh almost nothing and make a substantial difference in how warm your core feels. Layering works for extremities too: liner gloves under waterproof mitts for wet cold; a sun hat under a fleece beanie for high-altitude cold. Wool or synthetic hiking socks with a vapor-permeable liner sock prevent blistering and keep feet drier across long days.

    A complete cold-weather kit doesn’t require buying everything at once. Start with a quality base layer and a waterproof outer shell — those two pieces solve most of the problems you’ll actually encounter on trail.

  • 5 Fire-Starting Methods That Actually Work

    5 Fire-Starting Methods That Actually Work

    Starting a fire in the field is one of those skills that looks simple until the day it’s cold, wet, and you actually need one. Most people carry a lighter and stop there — which works 90% of the time. The other 10% is where it matters. Here are five methods that work across varying conditions, from the foolproof to the friction-based.

    1. Butane Lighter (The Default)

    There’s nothing romantic about a BIC, but a cheap butane lighter is reliable, fast, and weighs almost nothing. Keep it in a dry location — inside a ziploc or a breast pocket — because lighters fail in cold and wet conditions if the flint or fuel valve gets damp. A backup is always worth carrying. One lighter in the pack, one in the cook kit, one in the emergency layer — that’s the minimum for serious backcountry trips.

    2. Ferro Rod (The Reliable Backup)

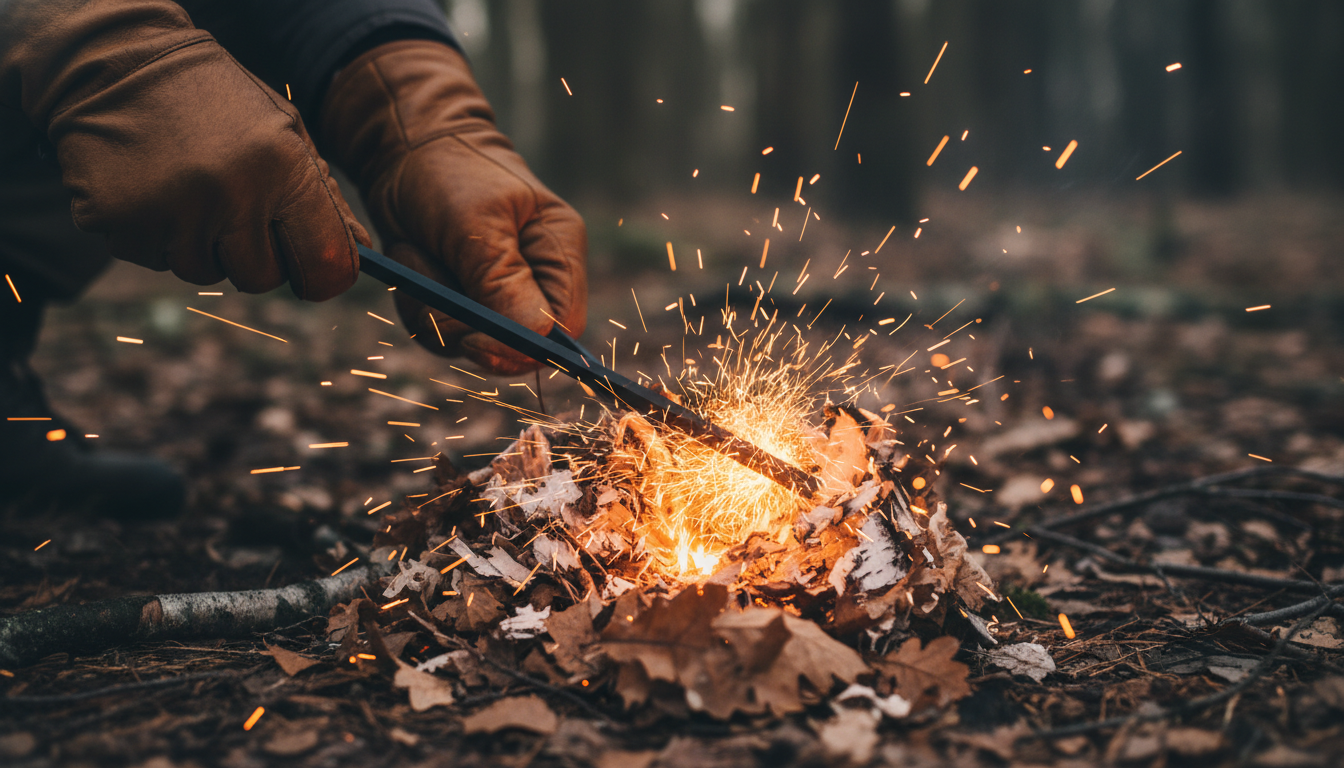
    A ferro rod produces sparks at around 3,000°C — hot enough to ignite a well-prepared tinder bundle regardless of humidity. Unlike lighters, ferro rods don’t run out of fuel, don’t malfunction in cold temperatures, and can last for thousands of strikes. The FireStarter Ferro Rod Kit includes a thick-diameter rod and a dedicated striker for consistent spark production. Practice before your trip — technique matters more than force. Short, controlled scrapes work better than long raking strokes that scatter sparks.

    3. Waterproof Matches

    Waterproof or storm matches are windproof and burn hot for 8–10 seconds — long enough to catch damp tinder. They’re bulkier than a lighter and each one is a single-use item, but they’re essentially failure-proof if the tinder is prepared correctly. Store them in the original container or a dry film canister. A box of 25 weighs under an ounce and represents 25 reliable ignition sources.

    4. Magnifying Lens (Solar Ignition)

    Works only in direct sunlight with low humidity, which limits its range of use significantly — but in the right conditions it’s elegant and effortless. Concentrate the focal point on a dark, dry tinder like char cloth or powdered dry fungus. Patience is the main requirement; the tinder needs to smolder before you transfer it to a bundle. Not a primary method, but a genuinely useful emergency backup when your other ignition sources are wet.

    5. Friction Fire: Bow Drill

    The bow drill is the most reliable primitive fire method and a legitimate survival skill. A spindle (typically straight-grained willow, cedar, or mullein) spins in a fireboard of the same or softer wood, generating heat through friction that creates a coal. The coal transfers to a tinder bundle and is blown gently into flame. It takes practice — expect to fail the first ten times. Once you’ve made fire this way successfully, everything else feels easy. It’s also a completely waterlogged worst-case scenario method: as long as you can find dry wood somewhere (inside standing dead wood, under bark) and have the body heat to dry it out, you can make fire.

    Always Prepare Your Tinder First

    The method matters far less than the tinder. No ignition source will start a fire in green wood or wet material. Collect dry grasses, birch bark (highly flammable even when slightly damp due to natural oils), pine resin, dry leaves, or fatwood shavings before you try to light anything. Build your tinder bundle, then your kindling structure, then reach for the ignition. The right tinder makes every method easier. The wrong tinder makes every method fail.

  • Hello world!

    Welcome to WordPress. This is your first post. Edit or delete it, then start writing!