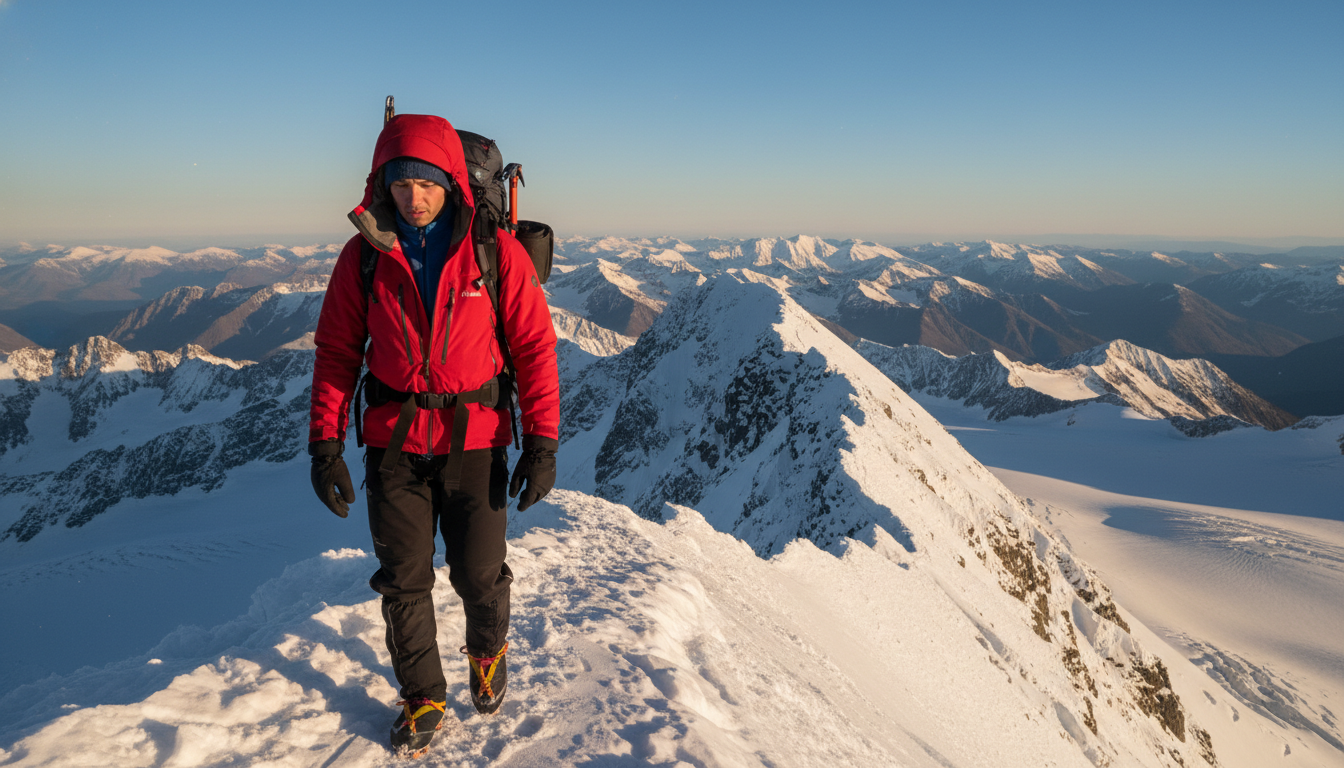
The layering system works. After decades of research, industry trial and error, and a lot of cold people figuring things out the hard way, the three-layer system remains the most effective framework for managing body temperature in cold and variable conditions. Here’s what each layer actually does — and how to build a kit that performs.
Layer 1: Base Layer (Moisture Management)
The base layer sits against your skin. Its only job is to move sweat away from your body before it can cool you down. Merino wool is the gold standard — it wicks well, regulates temperature across a range of exertion levels, and doesn’t develop odor as quickly as synthetics. Synthetic base layers (polyester, polypropylene) dry faster and cost less. Cotton does neither and should be left at home for any serious cold-weather use. Weight choices: lightweight for high-output activities, midweight for low-output or camp use, heavyweight for extreme cold in low-activity settings.
Layer 2: Mid Layer (Insulation)
The mid layer provides the actual insulation — it traps body heat in air pockets close to the body. Fleece is the most versatile mid-layer material: breathable, durable, quick-drying, and it maintains most of its warmth when damp. A 100-weight fleece handles shoulder-season hiking; a 200-weight or heavy fleece pullover works for camp use and rest stops in serious cold. Down insulation belongs in a mid layer only if you’re confident it will stay dry — once wet, down loses its loft and thermal value almost entirely. Synthetic fill (PrimaLoft, Thinsulate) performs better than down in wet or humid conditions. Pair a mid layer with the StormShell Rain Jacket over the top and you have a system that works from 35°F down to near-freezing with high output.
Layer 3: Outer Shell (Weather Protection)
The shell layer blocks wind and precipitation. A hardshell like the StormShell blocks rain and wet snow completely with taped seams and a 2.5-layer construction. A softshell provides more breathability and stretch but offers limited waterproofing — better for dry cold and high-output activity where sweat vapor management matters more than rain protection. The shell doesn’t provide significant insulation on its own; it simply preserves the warmth your base and mid layers are generating by blocking heat-stripping wind and moisture.
Regulating the System
The layering system only works if you actually adjust it. The most common mistake is keeping all three layers on during high-output activity until you’re soaked in sweat, then stopping and getting cold. Vent early and often — open zippers, remove a layer before you’re warm, put it back before you’re cold. On a technical climb or a steep trail, you might cycle layers every 20 minutes. The goal is to arrive at camp dry, not to get there faster while soaked.
Don’t Forget Extremities
Hands, feet, and head lose heat disproportionately. A light buff and thin liner gloves weigh almost nothing and make a substantial difference in how warm your core feels. Layering works for extremities too: liner gloves under waterproof mitts for wet cold; a sun hat under a fleece beanie for high-altitude cold. Wool or synthetic hiking socks with a vapor-permeable liner sock prevent blistering and keep feet drier across long days.
A complete cold-weather kit doesn’t require buying everything at once. Start with a quality base layer and a waterproof outer shell — those two pieces solve most of the problems you’ll actually encounter on trail.
Leave a Reply