Category: Uncategorized

  • Trail Nutrition: What to Actually Pack

    Trail Nutrition: What to Actually Pack

    Trail nutrition is one of those topics that gets complicated fast, but the fundamentals haven’t changed: you need enough calories to fuel your output, in a form that’s light to carry, easy to prepare, and won’t make you miserable to eat by day three. Here’s a practical framework for planning what to actually bring.

    How Many Calories Do You Actually Need?

    A day hiker covering 10–12 miles with a 20-lb pack in moderate terrain burns roughly 3,000–3,500 calories. A backpacker doing the same mileage at higher elevation or in colder temperatures can push past 4,000 calories on active days. Most people underestimate this significantly and end up under-fueled. A simple rule of thumb: plan for 1.5–2 lbs of food per person per day, targeting an average of 100 calories per ounce. That gives you 2,400–4,800 calories depending on the food you choose.

    Macronutrient Balance on Trail

    Carbohydrates are your primary fuel for sustained aerobic output — oats, tortillas, instant rice, and dried fruit are efficient, palatable, and widely available. Fat is the most calorie-dense macronutrient (9 cal/g vs 4 cal/g for carbs and protein) and earns its place in any backcountry kit. Nuts, nut butters, olive oil, hard cheese, and salami carry well and add significant calorie density to meals. Protein slows digestion and supports muscle recovery — jerky, protein bars, and powdered milk or protein powder are good lightweight options. Aim for a rough split of 50% carbs, 30% fat, 20% protein.

    The Best Backpacking Foods by Category

    Breakfast: Instant oatmeal with nuts and dried fruit is the reliable standard. Tortillas with peanut butter travel well and require no cooking. Granola with powdered milk reconstitutes in cold water if you want to skip the stove. The Titanium Camp Stove makes a hot breakfast possible even on long days — boils a liter of water in under three minutes.

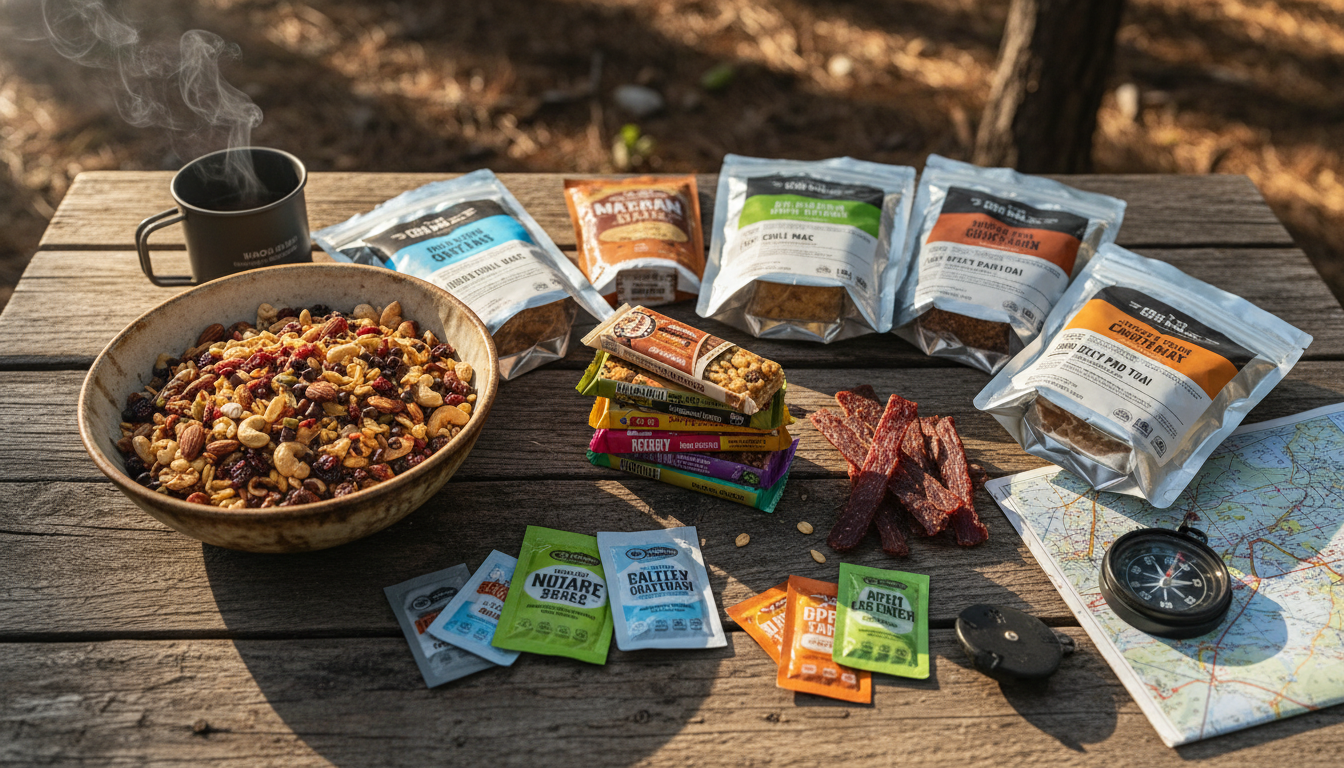
    Lunch and snacks: Avoid cooked meals mid-day if you’re moving — they slow you down. Hard cheese and crackers, summer sausage, tortillas with hummus packets, mixed nuts, and energy bars are the most practical options. Aim for 600–800 calories without stopping to cook.

    Dinner: This is where you invest in quality. Freeze-dried meals have improved dramatically and now range from tolerable to genuinely good. Alternatively, cook real meals: instant ramen with added miso paste, olive oil, and a foil packet of salmon; instant mashed potatoes with cheese and bacon bits; couscous with sun-dried tomatoes and salami. Real food tastes better at 8,000 feet after a long day.

    Hydration and Electrolytes

    Dehydration is the most common performance issue on trail, and it compounds fatigue, muscle cramps, and poor decision-making. Drink before you’re thirsty — by the time thirst kicks in, you’re already mildly dehydrated. On hot days or long climbs, supplement with electrolyte packets or tablets to replace sodium, potassium, and magnesium lost through sweat. Plain water doesn’t replace electrolytes. Use the AquaPure Gravity Filter to keep your water supply reliable and frequent without added effort.

    What to Actually Pack (Sample 3-Day List)

    Day 1–3 breakfast: 3× instant oatmeal packets with nuts (add almond butter packet) — ~350 cal each. Snacks: 3× 2 oz nut mix, 3× energy bars, 1 hard salami link + crackers — ~800 cal/day. Dinners: freeze-dried backpacking meal (700 cal), couscous + olive oil + cheese (800 cal), ramen + salmon + miso (750 cal). That totals roughly 3,450 calories per day in around 1.8 lbs/day of food weight — right in the target range.

    Eat before you’re hungry. Snack constantly. Cook something you actually want to eat for dinner. Those three habits make a longer trip feel manageable rather than miserable.
  • Cold-Weather Layering, Explained

    Cold-Weather Layering, Explained

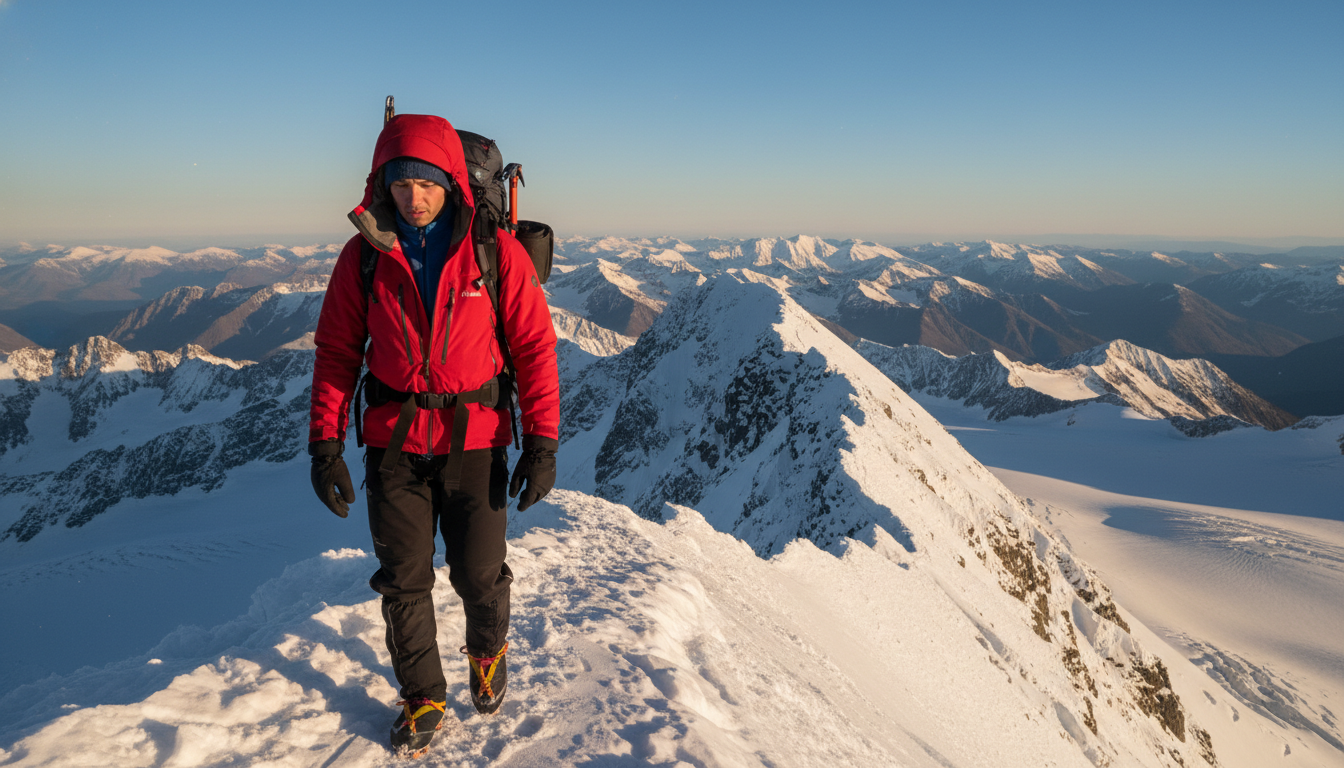
    The layering system works. After decades of research, industry trial and error, and a lot of cold people figuring things out the hard way, the three-layer system remains the most effective framework for managing body temperature in cold and variable conditions. Here’s what each layer actually does — and how to build a kit that performs.

    Layer 1: Base Layer (Moisture Management)

    The base layer sits against your skin. Its only job is to move sweat away from your body before it can cool you down. Merino wool is the gold standard — it wicks well, regulates temperature across a range of exertion levels, and doesn’t develop odor as quickly as synthetics. Synthetic base layers (polyester, polypropylene) dry faster and cost less. Cotton does neither and should be left at home for any serious cold-weather use. Weight choices: lightweight for high-output activities, midweight for low-output or camp use, heavyweight for extreme cold in low-activity settings.

    Layer 2: Mid Layer (Insulation)

    The mid layer provides the actual insulation — it traps body heat in air pockets close to the body. Fleece is the most versatile mid-layer material: breathable, durable, quick-drying, and it maintains most of its warmth when damp. A 100-weight fleece handles shoulder-season hiking; a 200-weight or heavy fleece pullover works for camp use and rest stops in serious cold. Down insulation belongs in a mid layer only if you’re confident it will stay dry — once wet, down loses its loft and thermal value almost entirely. Synthetic fill (PrimaLoft, Thinsulate) performs better than down in wet or humid conditions. Pair a mid layer with the StormShell Rain Jacket over the top and you have a system that works from 35°F down to near-freezing with high output.

    Layer 3: Outer Shell (Weather Protection)

    The shell layer blocks wind and precipitation. A hardshell like the StormShell blocks rain and wet snow completely with taped seams and a 2.5-layer construction. A softshell provides more breathability and stretch but offers limited waterproofing — better for dry cold and high-output activity where sweat vapor management matters more than rain protection. The shell doesn’t provide significant insulation on its own; it simply preserves the warmth your base and mid layers are generating by blocking heat-stripping wind and moisture.

    Regulating the System

    The layering system only works if you actually adjust it. The most common mistake is keeping all three layers on during high-output activity until you’re soaked in sweat, then stopping and getting cold. Vent early and often — open zippers, remove a layer before you’re warm, put it back before you’re cold. On a technical climb or a steep trail, you might cycle layers every 20 minutes. The goal is to arrive at camp dry, not to get there faster while soaked.

    Don’t Forget Extremities

    Hands, feet, and head lose heat disproportionately. A light buff and thin liner gloves weigh almost nothing and make a substantial difference in how warm your core feels. Layering works for extremities too: liner gloves under waterproof mitts for wet cold; a sun hat under a fleece beanie for high-altitude cold. Wool or synthetic hiking socks with a vapor-permeable liner sock prevent blistering and keep feet drier across long days.

    A complete cold-weather kit doesn’t require buying everything at once. Start with a quality base layer and a waterproof outer shell — those two pieces solve most of the problems you’ll actually encounter on trail.

  • 5 Fire-Starting Methods That Actually Work

    5 Fire-Starting Methods That Actually Work

    Starting a fire in the field is one of those skills that looks simple until the day it’s cold, wet, and you actually need one. Most people carry a lighter and stop there — which works 90% of the time. The other 10% is where it matters. Here are five methods that work across varying conditions, from the foolproof to the friction-based.

    1. Butane Lighter (The Default)

    There’s nothing romantic about a BIC, but a cheap butane lighter is reliable, fast, and weighs almost nothing. Keep it in a dry location — inside a ziploc or a breast pocket — because lighters fail in cold and wet conditions if the flint or fuel valve gets damp. A backup is always worth carrying. One lighter in the pack, one in the cook kit, one in the emergency layer — that’s the minimum for serious backcountry trips.

    2. Ferro Rod (The Reliable Backup)

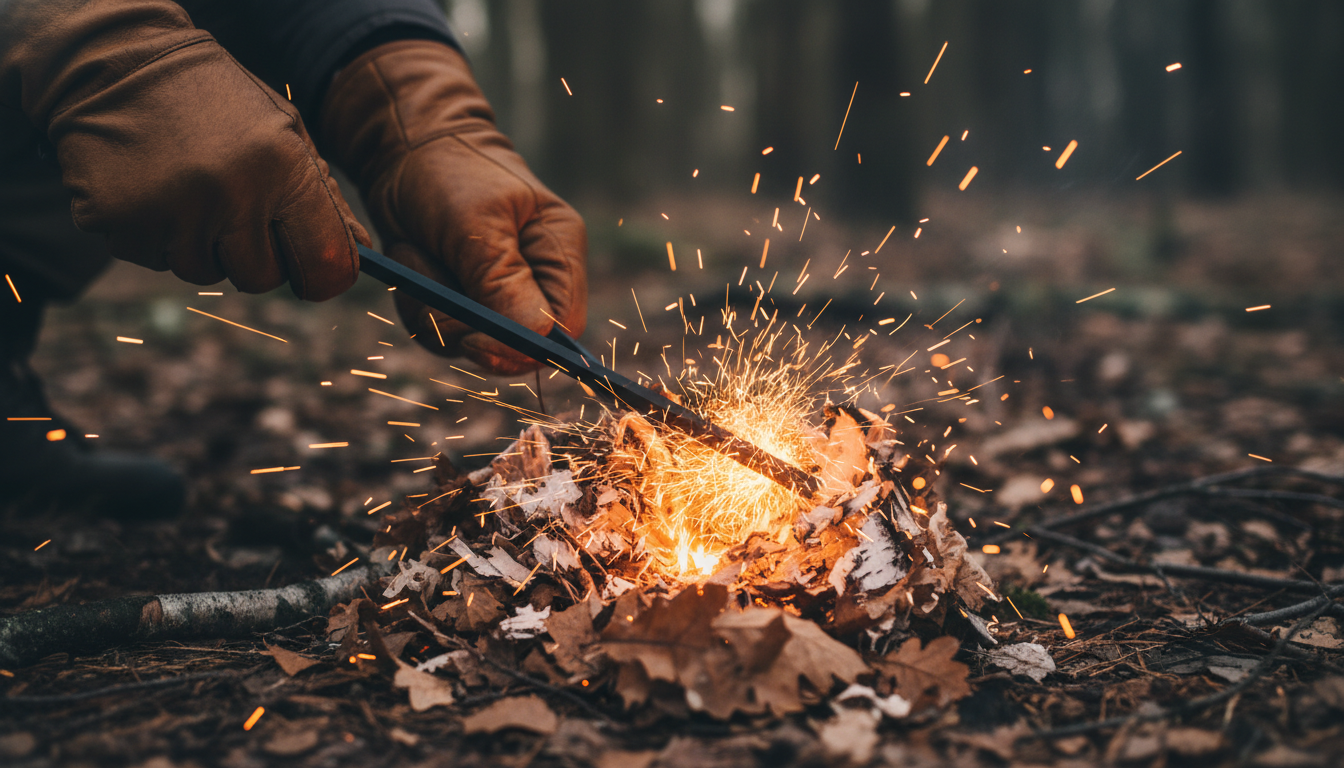
    A ferro rod produces sparks at around 3,000°C — hot enough to ignite a well-prepared tinder bundle regardless of humidity. Unlike lighters, ferro rods don’t run out of fuel, don’t malfunction in cold temperatures, and can last for thousands of strikes. The FireStarter Ferro Rod Kit includes a thick-diameter rod and a dedicated striker for consistent spark production. Practice before your trip — technique matters more than force. Short, controlled scrapes work better than long raking strokes that scatter sparks.

    3. Waterproof Matches

    Waterproof or storm matches are windproof and burn hot for 8–10 seconds — long enough to catch damp tinder. They’re bulkier than a lighter and each one is a single-use item, but they’re essentially failure-proof if the tinder is prepared correctly. Store them in the original container or a dry film canister. A box of 25 weighs under an ounce and represents 25 reliable ignition sources.

    4. Magnifying Lens (Solar Ignition)

    Works only in direct sunlight with low humidity, which limits its range of use significantly — but in the right conditions it’s elegant and effortless. Concentrate the focal point on a dark, dry tinder like char cloth or powdered dry fungus. Patience is the main requirement; the tinder needs to smolder before you transfer it to a bundle. Not a primary method, but a genuinely useful emergency backup when your other ignition sources are wet.

    5. Friction Fire: Bow Drill

    The bow drill is the most reliable primitive fire method and a legitimate survival skill. A spindle (typically straight-grained willow, cedar, or mullein) spins in a fireboard of the same or softer wood, generating heat through friction that creates a coal. The coal transfers to a tinder bundle and is blown gently into flame. It takes practice — expect to fail the first ten times. Once you’ve made fire this way successfully, everything else feels easy. It’s also a completely waterlogged worst-case scenario method: as long as you can find dry wood somewhere (inside standing dead wood, under bark) and have the body heat to dry it out, you can make fire.

    Always Prepare Your Tinder First

    The method matters far less than the tinder. No ignition source will start a fire in green wood or wet material. Collect dry grasses, birch bark (highly flammable even when slightly damp due to natural oils), pine resin, dry leaves, or fatwood shavings before you try to light anything. Build your tinder bundle, then your kindling structure, then reach for the ignition. The right tinder makes every method easier. The wrong tinder makes every method fail.

  • How to Choose the Right Tent

    How to Choose the Right Tent

    Choosing a tent feels overwhelming until you understand the handful of variables that actually matter. Cut through the spec-sheet noise and focus on these six factors — and you’ll land on the right shelter for your style of camping.

    1. Season Rating: Match It to Your Conditions

    Most backpackers need a 3-season tent. It handles spring through fall conditions — rain, moderate wind, and the occasional shoulder-season cold snap — without the extra weight of a 4-season mountaineering shelter. If you’re regularly camping in winter or above treeline in sustained wind and snow, a 4-season or convertible design makes sense. If you primarily camp in warm, dry conditions, a 2-season or ultralight tarp setup keeps weight minimal.

    2. Capacity: Size Down (But Not Too Far)

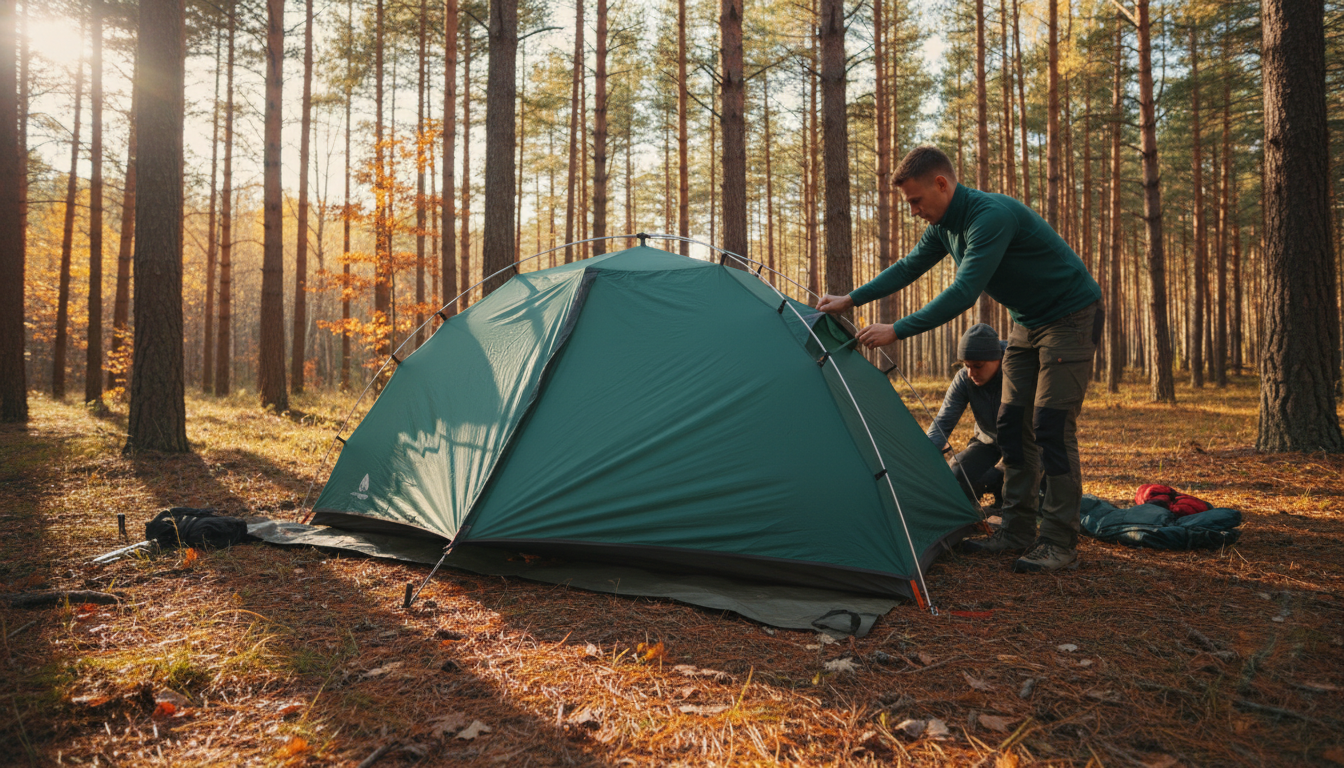
    A 2-person tent comfortably sleeps one person with gear, or two people who don’t mind being cozy. If you’re camping with a partner and you both have full packs, consider a 3-person tent. Solo backpackers who want room to sit up and spread out a little are often happier in a 2-person design. The Summit Pro 3-Season Tent is designed as a true 2-person shelter with vestibule storage so your gear isn’t crowding your sleeping space.

    3. Freestanding vs. Non-Freestanding

    Freestanding tents stand on their own poles without stakes — easier to set up, easier to move, and workable on surfaces where staking is hard (rock, sandy soil, snow). Non-freestanding designs like tarps and tunnel tents typically shed wind better and weigh less, but require reliable staking points and some setup practice. For most beginners and general-purpose camping, freestanding is the better starting point.

    4. Rainfly Coverage

    A full-coverage rainfly that reaches close to the ground is the most weather-resistant option. Partial-coverage or vestibule-only designs save weight and add views, but leave the inner tent walls exposed to blowing rain. Check whether the fly’s hem hangs 2–3 inches above the ground or stakes tight — the latter dramatically improves wind performance.

    5. Ventilation Design

    A well-ventilated tent reduces condensation, which is often the reason people wake up damp even when it hasn’t rained. Look for mesh inner walls, low vents near the ground, and high vents under the fly — this creates the chimney effect that pulls humid air out. Double-wall construction (separate inner and rainfly) is the standard approach for managing condensation effectively.

    6. Weight vs. Durability Trade-off

    Lighter fabrics and poles reduce pack weight but also reduce durability. For occasional weekend trips, an ultralight 20D fabric performs well. For extended trips, expedition use, or if you’re hard on gear, a heavier 30D or 40D fabric will outlast lighter alternatives significantly. Pole material matters too — aluminum bends rather than shatters under load and is repairable in the field; carbon fiber saves weight but cracks under impact.

    Once you’ve matched these six factors to your typical conditions and the way you camp, the right tent becomes obvious. Browse the Tents category in the Summit Forge shop to see current options.

  • A Beginner’s Guide to Going Light

    A Beginner’s Guide to Going Light

    Every backpacker has a moment where they look at what they just carried for three days and ask the question: did I actually need all of that? Ultralight backpacking isn’t about suffering — it’s about cutting what doesn’t earn its place so that the miles become easier and the days get longer. Here’s how to start.

    The Big Three First

    Shelter, sleep system, and pack together make up your “Big Three” — the heaviest items in almost every kit. Shaving weight here compounds across every mile you walk. A quality lightweight tent like the Summit Pro 3-Season Tent at 4.2 lbs is a solid start. Once you’ve optimized these three, the rest of the kit falls into place naturally.

    Do a Gear Audit Before You Pack

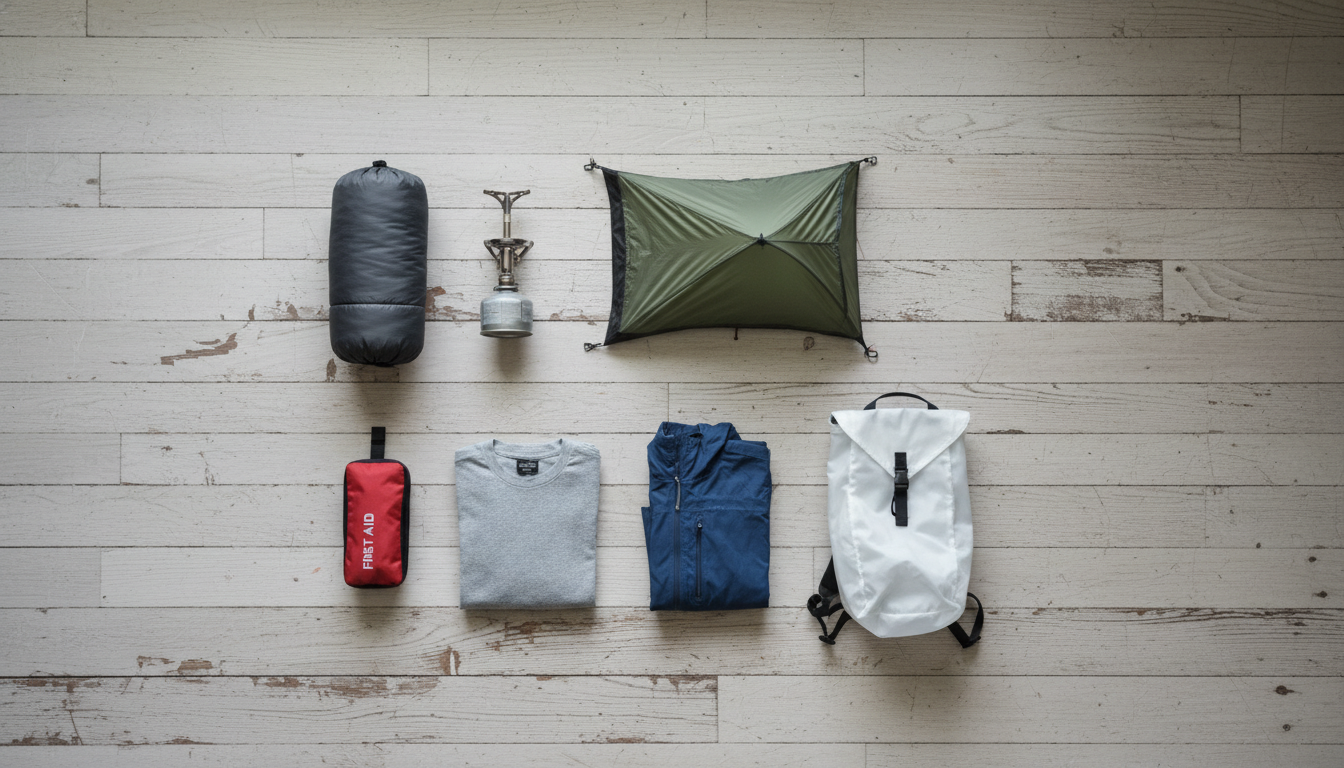
    Dump everything on the floor and assign each item to one of three piles: Always Needed, Sometimes Needed, and Just In Case. The “Just In Case” pile is usually the heaviest. For weekend trips in familiar terrain, almost everything in that pile can stay home. Ask yourself: what’s the actual consequence if I don’t bring this? If the answer is “mild inconvenience,” leave it.

    Dual-Purpose Items Win

    A TrailMug Insulated Bottle serves as a water bottle and hot drink container. A rain jacket doubles as a wind shell. Your pack’s hip belt pockets replace a separate hip pack. The goal isn’t to own less gear — it’s to own gear that does more than one job well.

    Consumables Are Free Weight

    Unlike gear, consumables get lighter as the trip goes on. Pack food that’s calorie-dense relative to its weight — nuts, nut butters, hard cheeses, dehydrated meals, and quality energy bars. Target 100+ calories per ounce. This isn’t about eating badly; some of the best backcountry meals are also the lightest.

    Water Strategy Beats Carrying Water

    Carrying two liters of water at all times is a kilogram you don’t need if you know where the sources are. Study your route, identify reliable water sources, and carry only what you need to reach the next one. A lightweight gravity filter like the AquaPure Gravity Water Filter weighs a few ounces and processes water while you set up camp.

    Weigh Before You Buy

    Get a small digital kitchen scale — they’re cheap and they change how you think about gear. Weigh everything. You’ll often discover that two items you assumed were similar weight have a 30% difference, and that difference adds up fast across a full kit.

    Light Doesn’t Mean Cheap

    The lightest gear is often more expensive, but you don’t have to replace everything at once. Start with what you carry most miles and feels heaviest — usually the pack and sleep system. Upgrade incrementally and buy quality once rather than mediocre twice.

    Going light is a mindset shift as much as a gear upgrade. Once you’ve done a 15-mile day with a 20-lb pack and felt how different it is from a 35-lb pack, you won’t go back.

  • Top 10 Campsites in the Pacific Northwest

    Top 10 Campsites in the Pacific Northwest

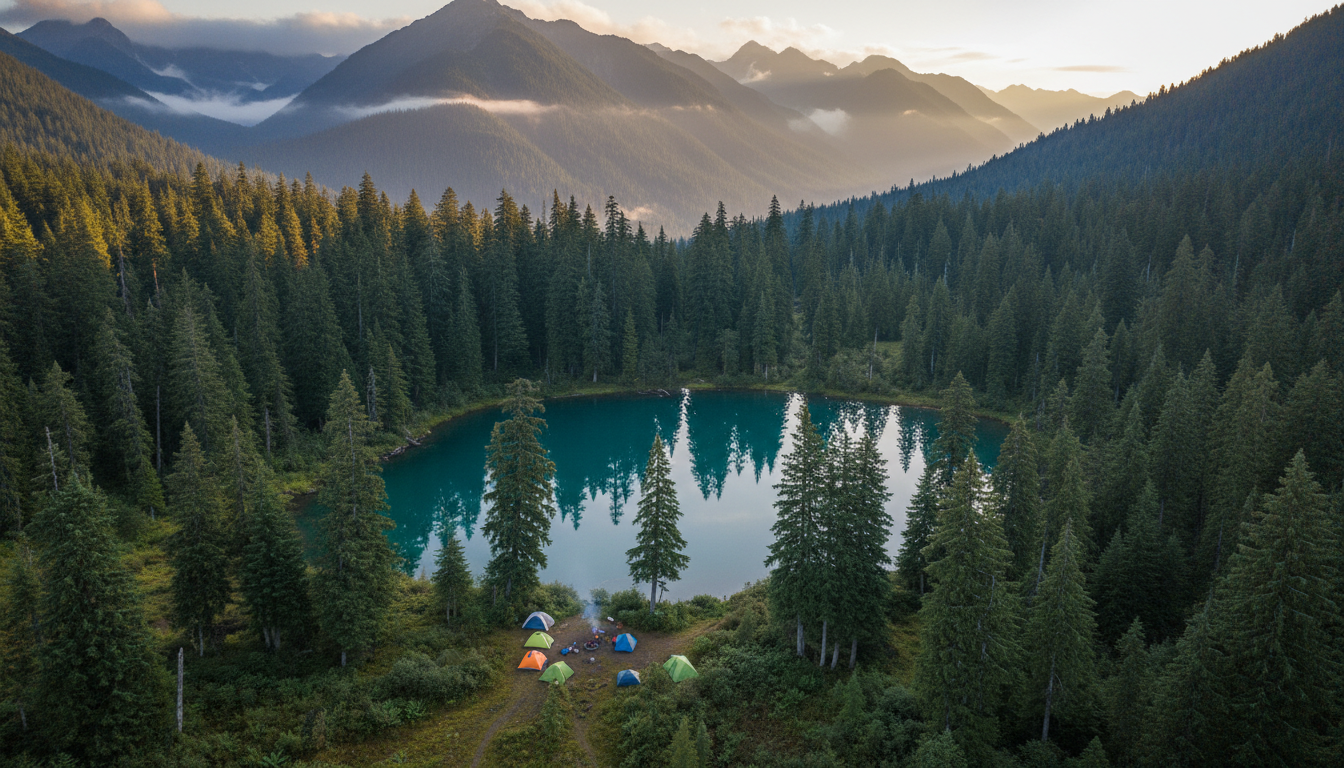
    The Pacific Northwest is one of the most dramatically varied camping regions on the continent. From sea-level rainforest to sub-alpine meadows above the treeline, a single road trip can take you through half a dozen distinct ecosystems. If you’re trying to decide where to pitch the Summit Pro Tent this season, here are ten spots worth the drive.

    1. Shi Shi Beach, Olympic National Park, WA

    A three-mile hike through old-growth Sitka spruce brings you to one of the most dramatic sea-stack beaches in the country. Permits required in summer — book early. Watch for black bears near the creek crossing.

    2. Enchantments, Alpine Lakes Wilderness, WA

    One of the most sought-after overnight permits in the country for a reason. The core zone sits above 7,000 feet and is ringed by granite peaks, turquoise tarns, and mountain goats with zero personal boundaries. Lottery system opens in February.

    3. Three Sisters Wilderness, OR

    Multiple entry points give you access to a vast plateau of lava fields, crater lakes, and clear spring-fed streams. Horse Lake and Green Lakes are the busiest zones; head north toward Separation Creek if you want solitude. For trip planning tips, check this regional guide (dead link — site no longer active).

    4. Hoh Rain Forest, Olympic National Park, WA

    Average annual rainfall of 140 inches makes this the wettest forest in the lower 48. Mossed-over maples and towering Sitka spruce create an atmosphere unlike anywhere else. Bring the StormShell Rain Jacket — you’ll need it.

    5. Mount Rainier: Summerland, WA

    An eight-mile round-trip day hike or a comfortable overnight, Summerland sits in a wildflower basin directly below the eastern face of Mount Rainier. Prime season is late July through September. Wilderness permit required.

    6. Eagle Creek, Columbia River Gorge, OR

    A classic gorge trail with twelve creek crossings and Tunnel Falls at mile seven. High Bridge camp and Tenas Camp offer flat sites close to the creek. This is a year-round trail but fire history has changed some camping zones — check current conditions before you go.

    7. North Cascades: Ross Lake, WA

    Accessible only by boat or trail, the camps along Ross Lake are some of the most remote front-country sites in Washington. Rent a water taxi from Ross Lake Resort and spend a week working your way up the eastern shore. Detailed route maps are available on our camping routes page (page doesn’t exist yet).

    8. Mount Jefferson Wilderness, OR

    Jefferson Park is the crown jewel — a hanging garden of heather meadows and glacial lakes at the base of Oregon’s second-highest peak. Day-use permits required July through September. Fires prohibited above 4,500 feet.

    9. Olympic Coast: Cape Alava, WA

    The westernmost point in the contiguous US, reached by a 3.3-mile boardwalk through Makah territory. A triangle route loops back via Sand Point for a two-night itinerary. Permit required, camp above high tide line.

    10. Mount Baker: Artist Point, WA

    Drive-to-trailhead access at 5,100 feet gives you a head start on terrain that would take a full day to reach on foot anywhere else. The Ptarmigan Ridge trail heads west from the parking area into genuine wilderness within two miles. Snow lingers into July most years — pack the gaiters.

    Wherever you’re headed, having the right shelter matters. The Summit Pro 3-Season Tent handles everything on this list — rain, wind, and the occasional morning frost. Browse the full Summit Forge shop for gear that holds up out here.

  • Hello world!

    Welcome to WordPress. This is your first post. Edit or delete it, then start writing!